11 Small Kitchen Organization Ideas That Free Up Counter Space
If making a sandwich starts with moving the toaster, a stack of lids, and yesterday’s mail, your kitchen is making you work before you’ve even started cooking.
In a small kitchen, a few misplaced items can swallow the only useful preparation area. Buying another countertop organizer may simply give the clutter a nicer container.
These small kitchen organization ideas focus on getting usable space back: making cabinets easier to use, finding homes for awkward items, and keeping everyday tools accessible. Start with the changes that cost nothing, then consider an organizer only where it solves a problem you actually have.
This article contains affiliate links. If you purchase through these links, Eco Home Edit may earn a commission at no extra cost to you.
1. Claim One Clear Spot for Preparing Food
Before organizing the entire kitchen, choose the section of counter where you want to chop vegetables, assemble lunch, or set out ingredients.
Put your cutting board there, along with a mixing bowl. Can you use both comfortably without shifting anything?
If not, move the items occupying that area and give them specific homes. Mail belongs near the entryway. Spare mugs belong in a cabinet. An appliance you rarely use needs storage that doesn’t compete with your daily cooking space.
You don’t need completely bare counters. You need one dependable place to work.
Try this today: Clear just that section and prepare your next meal there. Notice which displaced items you actually reach for before deciding what returns.
2. Give Countertop Appliances Space Based on Use
The appliance you use every morning deserves a different storage spot from the one you bring out a few times a year.
Sort your small appliances into three groups:
- Used most days: Keep accessible if the counter is the most practical location.
- Used occasionally: Store in an easy-to-reach cabinet or nearby shelf.
- Rarely used: Move to less convenient storage, or consider passing it along if it no longer serves you.
Let your routine make the decision. A blender might earn a permanent spot in one household while a toaster earns it in another.
Store heavy appliances where you can lift them comfortably. Let appliances cool before putting them away, and follow their instructions for operating space and ventilation. A storage cabinet isn’t automatically a safe place to run a heat-producing appliance.
No-cost starting point: Move one occasional-use appliance off the counter for a week and see whether the change works for you.
3. Use a Shelf Riser Inside a Crowded Cabinet
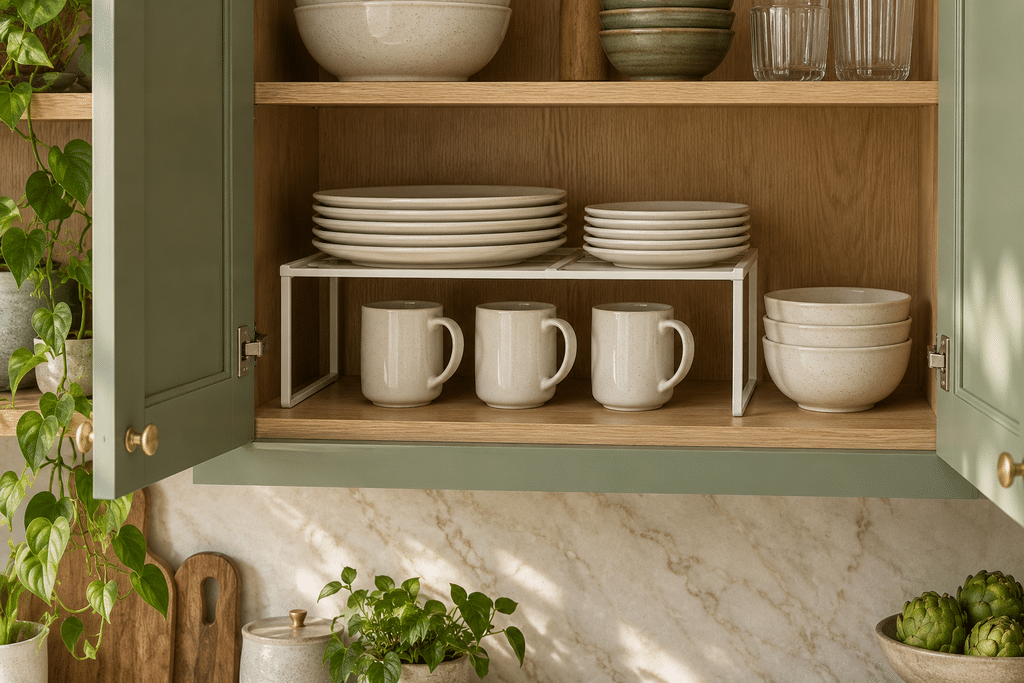
Sometimes countertop clutter starts inside a cabinet. If putting away a mug means rearranging a tower of dishes, leaving it out becomes the easier option.
A shelf riser can divide unused vertical space into two accessible levels. For example, keep short stacks of plates below it and small bowls above it, rather than balancing everything in one pile.
The expandable cabinet shelf riser is an option to consider when a cabinet has enough unused height. Use it inside the cabinet to create homes for items currently living on the counter.
Before buying, measure the interior width, depth, and height. Allow room for the items on top and for your hand to remove them. Check the selected product’s dimensions and load limits.
Skip it if: Your cabinet shelves are already closely spaced. Adjusting an existing shelf, if possible, may solve the problem without a purchase.
4. Store Cutting Boards and Baking Sheets Upright
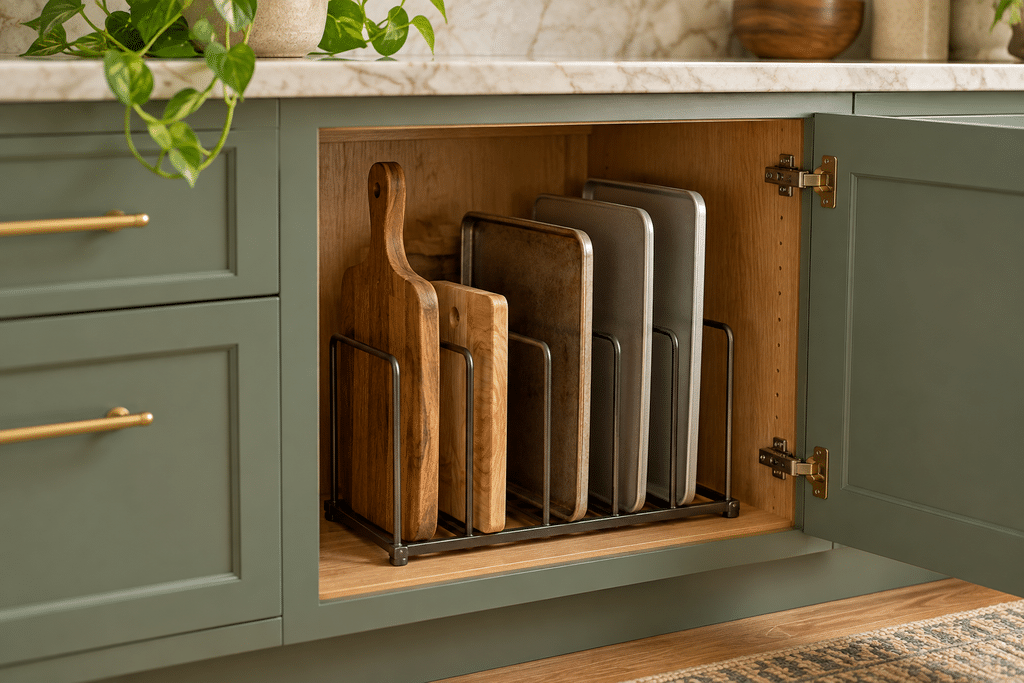
Cutting boards often end up leaning against the backsplash because their cabinet is difficult to use.
Give boards, baking sheets, and suitable lids individual slots so you can remove one without lifting an entire stack. A lower cabinet near your preparation area is a useful place to start.
The EVERIE adjustable lid and bakeware organizer is designed for items such as cutting boards, cookie sheets, bakeware, and pot lids. Its adjustable dividers let you arrange slots around the pieces you need to store.
Measure the cabinet opening as well as its interior. Tall boards must fit upright, and handles or hinges may affect placement.
Try this first: Reorganize an existing narrow cabinet compartment. If it already supports upright storage, you may not need an additional rack.
Only put boards away once they are clean and dry.
5. Replace a Permanent Countertop Drying Rack When It Makes Sense
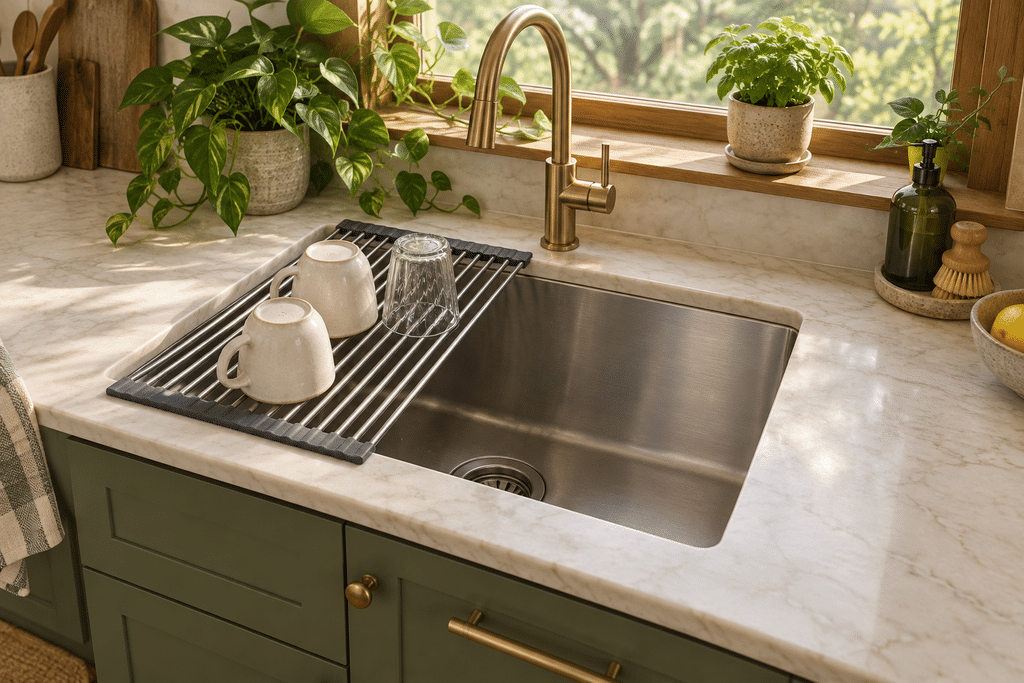
A dish rack can occupy a large share of a small counter even when it’s empty.
If you usually wash a few items at a time, a roll-up rack over part of the sink may let dishes drain without using your preparation surface. Once the dishes are dry and put away, roll up the rack and store it.
The Tomorotec roll-up over-the-sink drying rack is one option. The linked listing identifies a 17.7-by-15.5-inch version, so measure your sink opening and confirm the selected size before ordering. The rack needs secure support on both sides.
This works best when enough sink space remains available for your normal tasks.
Skip it if: You wash large batches of dishes, need the entire sink throughout meal preparation, or cannot get a secure fit. Keeping your existing rack and putting it away between uses may be more practical.
6. Give Food-Container Lids Their Own Home
A collection of mismatched lids can take over a drawer and push other items onto the counter.
Start by matching lids to the containers you actually use. Set aside pieces that no longer have a partner, then choose a storage spot for the remaining lids.
The BasicForm inside-cabinet-door organizer baskets are an option for storing suitable container lids on the inside of a cabinet door. The linked set includes four differently sized metal baskets.
Check the clearance between the closed door and everything behind it. A basket can fit on the door but still hit a shelf or stored dishes.
Follow the mounting instructions for your cabinet material and chosen installation method. Adhesive mounting is not a guarantee of damage-free removal.
No-cost alternative: Stand lids inside a spare container in the cabinet. Keep that container only as large as your lid collection needs.
7. Move a Few Everyday Utensils onto a Wall Rail
A utensil crock is convenient, but it also occupies a piece of counter that could hold ingredients or a chopping board.
If you have a suitable wall surface, a rail can hold frequently used tools with hanging holes, such as a spatula, ladle, or measuring spoons. Hang only the tools that earn their place through regular use.
The YiZhi adhesive utensil rail with hooks is an option for this setup. Check the listing and installation instructions for compatible surfaces, loading limits, and the required wait before adding weight.
Choose a location away from direct heat and heavy splashes. Allow hanging tools to clear the counter and avoid placing the rail where it interferes with doors.
For renters: Check whether adhesive fixtures are permitted and appropriate for the finish. If they aren’t, a rearranged utensil drawer is a better choice.
8. Store Supplies Where You Use Them
When supplies are scattered, the counter becomes a temporary holding area for everything you pull out.
Choose a few simple groups based on your routine:
- Coffee, filters, and mugs near the coffee maker.
- Food containers and matching lids near where you pack leftovers.
- Mixing bowls and baking tools together.
- Everyday cooking utensils close to the preparation area.
Use an existing shelf or drawer before buying bins. The goal is to make putting things away as easy as taking them out.
A tray can help contain a small coffee station, but it doesn’t create extra counter space by itself. Keep only what you use regularly on the tray, and store refills elsewhere.
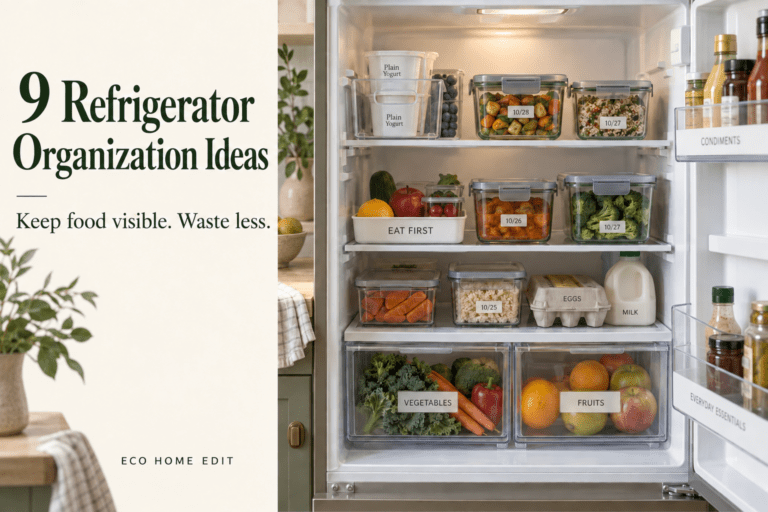
For food storage inside the fridge, our refrigerator organization guide offers ways to keep leftovers and ingredients easier to find.
9. Make Room for Groceries Before You Unpack Them
Bread, snack bags, and unopened pantry items can become permanent counter residents when there’s nowhere obvious to put them.
Before your next grocery trip, check the shelf where those items belong. Bring existing food into view, combine storage locations where practical, and leave a space for what you plan to bring home.
You don’t need to transfer everything into matching jars. Keep original packaging when it works, especially when it carries useful preparation instructions, dates, or allergen information.
Try this today: Choose one group of groceries that keeps landing on the counter and give it a designated cabinet or pantry shelf.
A storage system is easier to maintain when the amount you buy fits the space available.
10. Move the Kitchen Drop Zone Elsewhere
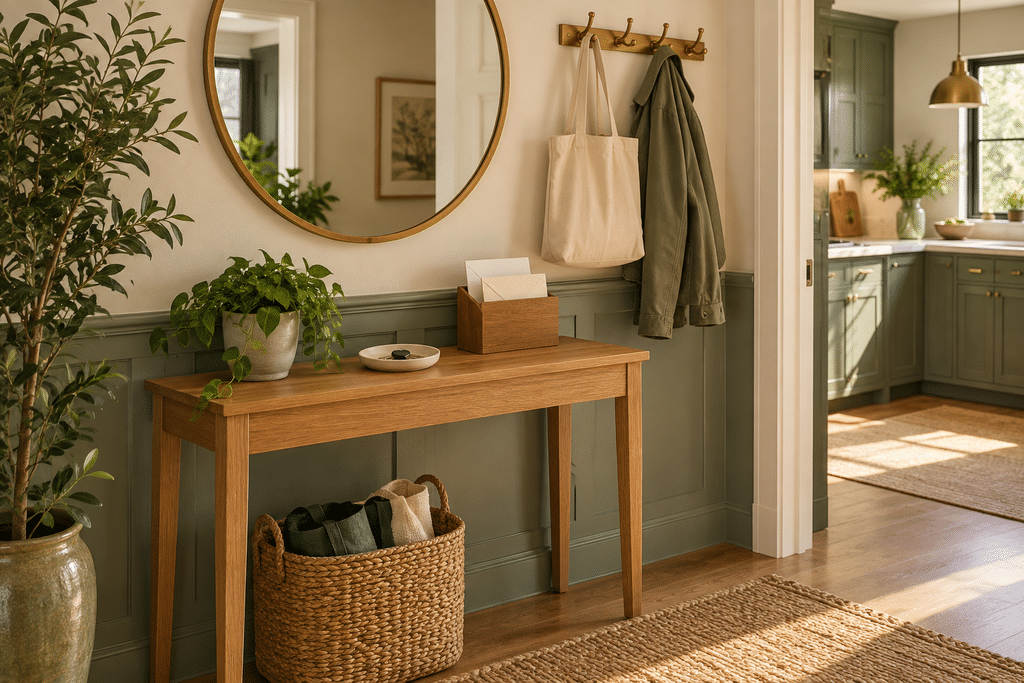
Keys, chargers, receipts, and school papers can occupy more preparation space than cooking equipment.
Choose a small landing spot outside the kitchen’s working area. An existing bowl near the entrance, a drawer, or a folder for papers may be enough.
If the kitchen is the only realistic location, set aside one small container away from your clear preparation space. Empty it regularly instead of allowing the pile to grow around it.
Make the new location convenient for everyone who uses it. A system that requires walking across the house is less likely to replace the familiar counter.
Start small: Move just one recurring category, such as mail, and establish its new home before tackling the rest.
11. Finish with a Short Counter Reset
An organized kitchen needs a routine that works after a busy day.
Once dishes are dry, put them away. Return food to its storage spot, hang or store clean utensils, and clear the preparation area you claimed in the first step.
Use the reset to spot problems with the system. If an item repeatedly stays out, ask why:
- Is its storage spot too hard to reach?
- Is the cabinet too full?
- Does putting it away require moving several other things?
- Do you use it often enough that it should stay accessible?
Change the storage arrangement when needed. The easier it is to return things to their homes, the less work the next reset becomes.
Which Small Kitchen Organization Idea Should You Try First?
Choose the problem that interrupts cooking most often.
| If this keeps happening… | Start here |
|---|---|
| You move things just to put down a cutting board | Claim a clear preparation area |
| Appliances fill most of the counter | Review how often you use each one |
| Clean dishes stay out because cabinets are awkward | Rearrange a shelf or consider a riser |
| Boards and trays lean against the backsplash | Create upright cabinet storage |
| A drying rack occupies your best working space | Try a rack that stores away between uses |
| Lids prevent a drawer from closing | Match lids and give them a dedicated home |
Before buying an organizer, decide exactly what it will hold and measure where it will go. A product that doesn’t fit your routine can become one more thing to organize.
Make Room for Your Next Meal
Start with one spot large enough to prepare food comfortably. Then work backward: what is occupying it, and where could those things live instead?
You may find that rearranging one cabinet or moving one rarely used appliance makes the biggest difference. Add storage products only where they make everyday tasks easier.
A small kitchen doesn’t have to look empty. It needs to leave you enough room to cook.
Eco Home Edit helps everyday people create healthier, greener homes without spending a fortune.